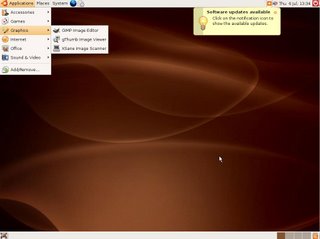
Step 1:Download a CD-ROM image(ISO file) and burn(for eg. to burn use NERO) it onto a blank CD-R.

Step 2:Make sure that your BIOS is set to boot off the CD-ROM drive.Reboot your system.
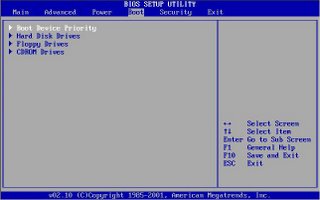

Step 3: After starting computer again,below screen will be appeared.
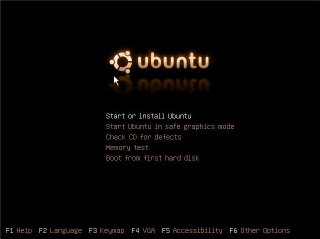
Select Start or Install Ubuntu and hit enter.
NOTE:If during the installation process the graphics appear garbled or warped, simply reboot the computer and at this screen select Start Ubuntu in Safe Graphics Mode. After hitting enter, Ubuntu will start loading the operating system.


Step 4:Double click the install icon on the desktop. It will then ask you a series of straight forward questions, such as your language, location, and keyboard layout.
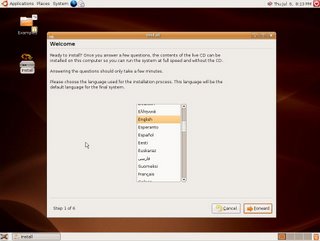
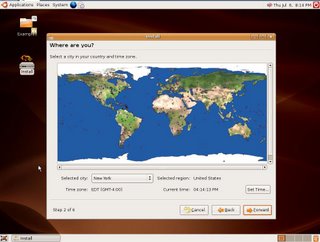
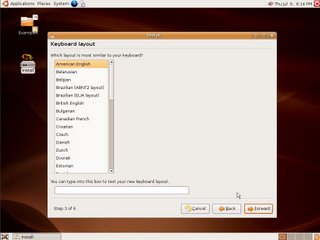
The installer will then ask you for your name, and your a user name for logging in.
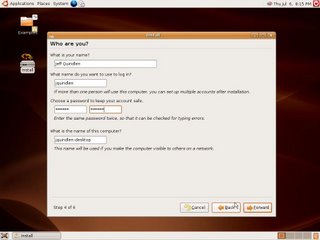
Step 5:Create a partition for Linux to use. If you're going to be dual-booting both Windows and Ubuntu, you'll need to make room for your Linux partition, unless you have some unformatted space on your hard disks.
NOTE:Be careful not to erase a partition that contains data that you want to keep. You'll need to allocate at least 3GB of space for your Ubuntu installation, but a more realistic minimum of 10GB should be allotted so that you have room to install additional applications.
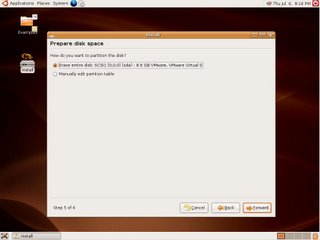 For unformatted hard drive simply click new and use the full amount of space available.
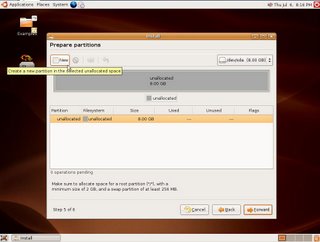
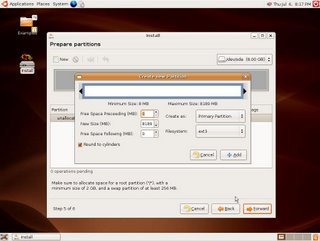 After partitioning the hard drive, you'll be presented with a confirmation screen that will recap the installation procedure. Click the install button.
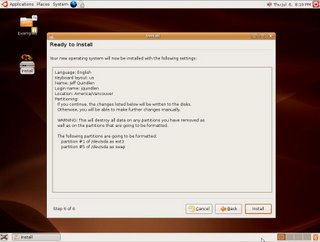 Ubuntu will now format the disks, and install itself. This process will take some time.
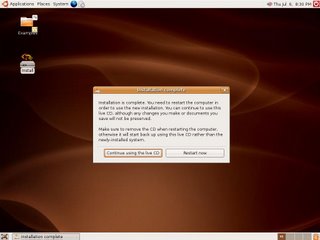
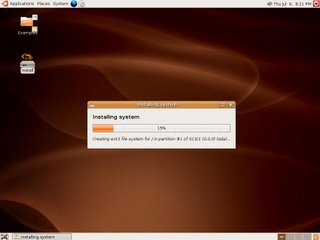 After the installation is done, Ubuntu prompts you to reboot . When you are ready to use your new Ubuntu installation, simply reboot and remove the CD from the drive.
Step 6:After restart a login screen appears, simply enter the username you've chosen and hit enter. Next you'll enter your password.
 Ubuntu is now installed, ready to use .
